In this article, we’ll use SMTP services via an SMTP plugin to send emails from our WordPress website instead of the default PHP mail service and properly understand how to setup SMTP in WordPress to send emails.
In the video, you didn’t find what you were looking for. Read the article below.
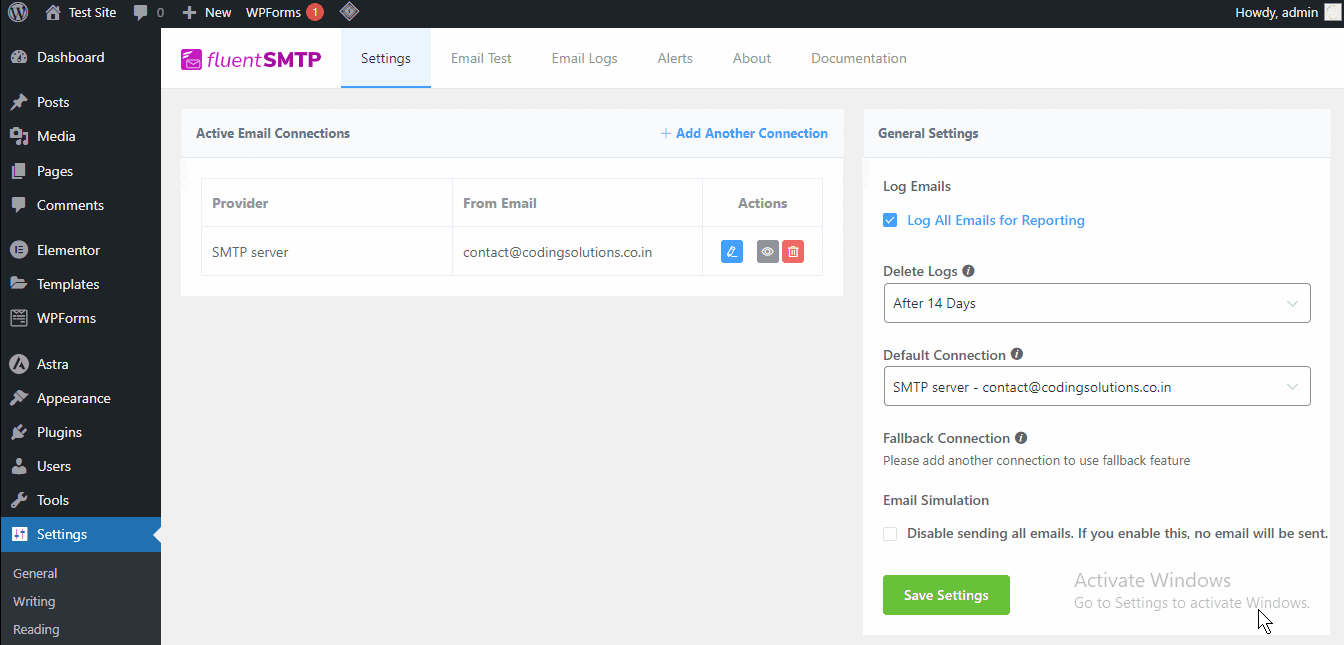
We will use Fluent SMTP for sending the emails from our WordPress website.
Note: In this article, we will use the free version of the plugin, that is you don’t have to buy anything to send an email.
Table of Contents
Steps on "how to setup SMTP in WordPress"
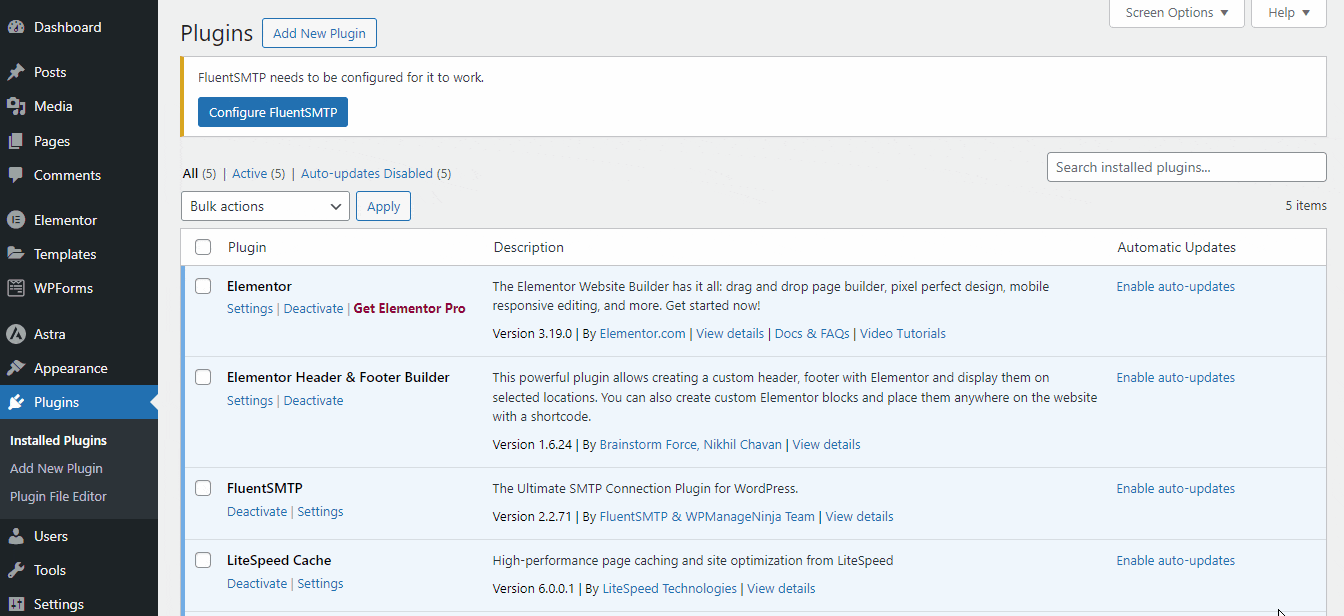
Step1: Install and Activate the Plugin
- Login to your website’s admin panel.
- Click on Plugins -> Add New Plugin
- In the search box, type “Fluent SMTP”.
- In the First Plugin that will appear, click on the Install Now button.
- Now, it will show you the Activate button. Click on it.
Now, the plugin will be successfully installed and activated on your website. But not configured with your website. I’ll tell you the configuration process in the next step.
Step2: Configure the Plugin
At this stage, you have successfully installed and activated the plugin but the job is not done yet, we have to “configure” or “Set up” the plugin with our WordPress website.
The first time you activate the plugin, it will show up a Configure FluentSMTP button at the top just click on it, or click on Settings -> FluentSMTP option and scroll down to “Other SMTP”. Insert the following settings:
- Select the option “Other SMTP”
- “From Email” -> Enter an email address from where you want to send all the emails.
- “From Name” -> What you enter in this field will be visible to your recipients. I recommend you enter your business name or a word associated with this website only. “Force Sender Name” is optional but I recommend you to tick this option.
- “SMTP Host” -> In this input box you have to enter your hosting’s “Outgoing server SMTP”. In the case of “Hostinger” use “smtp.hostinger.com“
- “SMTP Port” -> In this input box you have to enter your hosting’s “Outgoing server Port address”. In the case of “Hostinger” use “465“
- “SMTP Username” -> In most cases this box is filled with the “email address already created on your domain”.
- “SMTP Password” -> In this input box you have to enter the “password” of that email address.
Note: Third-party email addresses will not work. You must enter an email address that is already created on your domain.

Now, the configuration process of SMTP on the WordPress website is completed. From now on all the emails will be sent to your mailbox. You can also watch the status of your emails from the “Email Logs” tab, in the “FluentSMTP” dashboard.
Note: But to watch the emails, every time you have to enter into your Hostinger account. It will be easier for us if all the emails go into your Gmail account. To get emails directly from your website to the “Gmail” account, simply create an email forward on that particular email from your “Hostinger” account. Do not worry I’ll tell you the process.
Step3: Create a Email Forward
Good job, the emails are now going correctly to your Hostinger’s mailbox. But you need all the emails will go to the Gmail inboxes.
Now, create an email forward, as you have already logged in to your Hostinger account. Go to Emails -> Forwarders, now click on Create a forwarder here put your desired email address on the To email address input box, and then click on the Create button. Now, the email forwarder was created.
Then, a confirmation email was sent to that email address, simply confirm that to activate. Now, all the emails sent from your website will be seen directly from your Gmail account.
Step4: Sending a Test Email
It’s time to send a test email from your website, and observe was the mail successfully went to your Gmail account or not.
Great! From now on all the emails will be accessible from the administrator’s desired “Gmail” account. For other queries on Fluent SMTP visit official docs. Read my articles and find your specific query. For creating contact forms on your website read How to Create a Contact Forms.